A deep dive into this fragrant crop
IMAGES BY HILARY DAHL
I’m one of those people who think that there’s no such thing as too much garlic. I want more garlic on my pizza, more garlic on my potatoes, more garlic in my toothpaste. You get the idea. One of my favorite books of all time is Growing Great Garlic by Ron Engeland. I rank it right after The Canterbury Tales and right before Wuthering Heights.
Garlic is easy to grow, a hero in the kitchen and a beautiful addition to any garden scene. It’s a member of the allium family, the same glorious lineage that provides us with onions, scallions, shallots and leeks. So, buckle up for a quick introduction! It’s a perfect time to brush up on your garlic knowledge because fall is garlic planting season.
TYPES OF GARLIC
There are two main subspecies of garlic that gardeners grow as an annual vegetable: hardneck and softneck. There are other garlic-adjacent crops, like elephant garlic, wild garlics and solo garlic that have different cultivation needs, so for the sake of simplicity, I’m going to pretend those don’t exist.
Hardneck garlic typically provides stronger flavor and larger cloves. These plants have a rigid central stem (the hard neck) and produce the highly-coveted garlic scapes you see every summer at the farmer’s market. Hardneck varieties are often the first choice for home gardeners because these varieties are nearly impossible to find in grocery stores. Their scarcity is due to their shorter storage life.
Hardneck garlics are subdivided into several groups, including rocambole, porcelain and purple stripe. Within each group, there are many varieties to choose from. I’ve had great success with both Georgian Fire and Polish porcelain garlic. I also like Spanish Roja rocambole.
Softneck garlic generally has a milder flavor and smaller, more numerous cloves (10-20). They have a malleable central stem, so this is the type to grow if you’d like to braid your stems like a true culinary hipster.
The most common types of softneck garlic are silverskin, artichoke and creole. Silverskin are the types you find in every grocery store because of their long storage life. I like to grow Lorz Italian artichoke garlic.
If space allows, I highly recommend
planting both hardneck and softneck types. If you’d like to plant enough to use throughout the entire year, make sure most of your plants are softneck. I typically plant a full 4 feet by 8 feet bed in garlic each year. I plant five rows with 15 plants in each row. This allows me to harvest about 75 heads each summer, 50 of which are softneck.
Most seed companies sell garlic in the fall. However, it’s perpetually in short supply, so make sure you order as early as possible. If you can’t find seed garlic in a local nursery or at an online retailer, you can plant the organic garlic found in the produce section of your local grocery store. If buying seed from the grocery store, look for heads that are tight and have firm cloves.
Fortunately, one of the best garlic seed suppliers in the world, Filaree Farm, is in our own backyard, so you might want to check them out first.
GROWING GARLIC
While garlic can theoretically be grown from seeds, this process adds at least a full year to the production cycle. Most growers instead plant using “seed garlic” which are actually individual cloves from the previous season’s harvest. When you purchase a head of garlic, it’s made up of an array of individual cloves around a central stem. Each clove is a miniature bulb and acts similarly to other bulbs you plant each fall (think daffodils). When properly planted, each individual clove you plant this fall will develop into a full-sized head of garlic by next summer.
To start, prepare the garden as you would for any new annual vegetable crop: loosen the soil, check the soil pH, mix in a balanced organic fertilizer and top dress with a little compost. I plant my garlic as soon as possible after Halloween, but anytime in November works well.
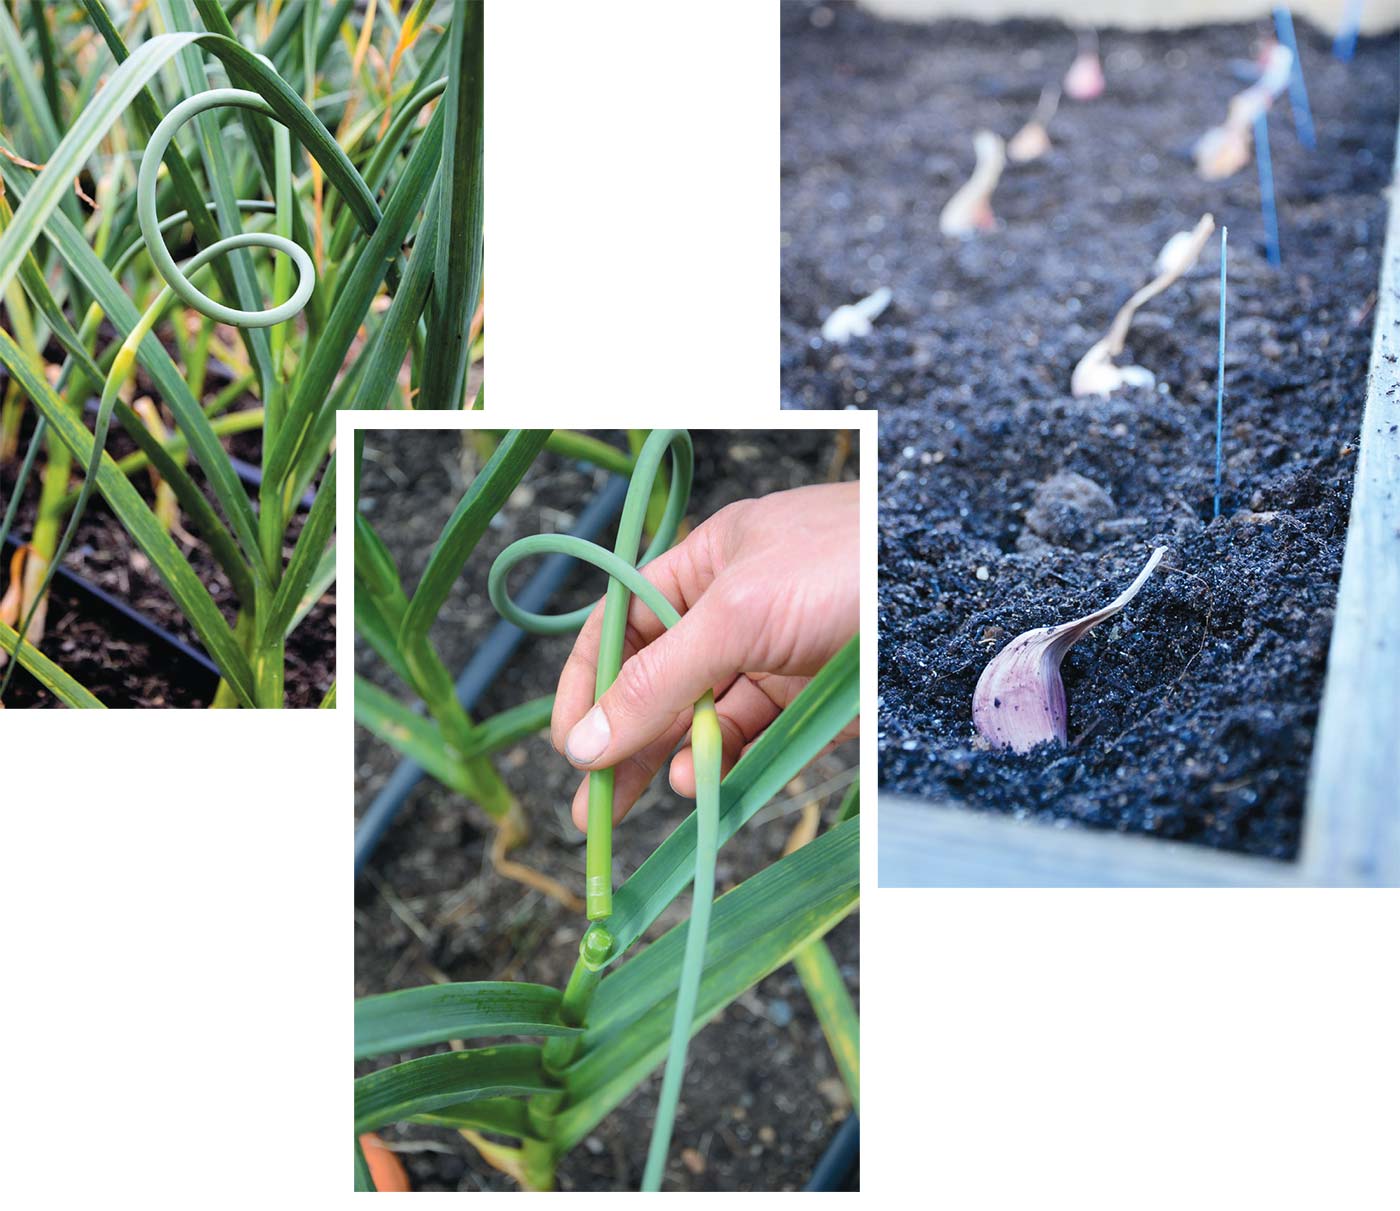
Plant garlic 5–6 inches apart and 2–3 inches deep, pointy side up. The ideal depth depends on the size of the clove, plant larger cloves a little deeper than the smaller ones. The goal is to have the top of the clove covered under at least 1 inch of soil. If you are planting in a region where the ground freezes and thaws regularly, you may want to plant a little deeper to keep the cloves from being pushed out of the soil during dramatic temperature swings.
Your cloves should start to emerge early in the spring. Ideally garlic doesn’t sprout until after the worst of winter weather is over. However, I regularly see it pop up as early as January. It should be fine if it sprouts anytime between December and March, and will be ready to harvest in early- to mid-July.
After planting, garlic is a very low-maintenance crop. I like to add a high-nitrogen organic fertilizer in March or April, but otherwise just wait until they’re ready. Your hardneck plants should start to send up curled flower stalks—the scapes—sometime in June. Cut these off while they’re still curly. The scapes provide an early harvest and make sure that your plants can put all their energy into bulb production, rather than flower production.
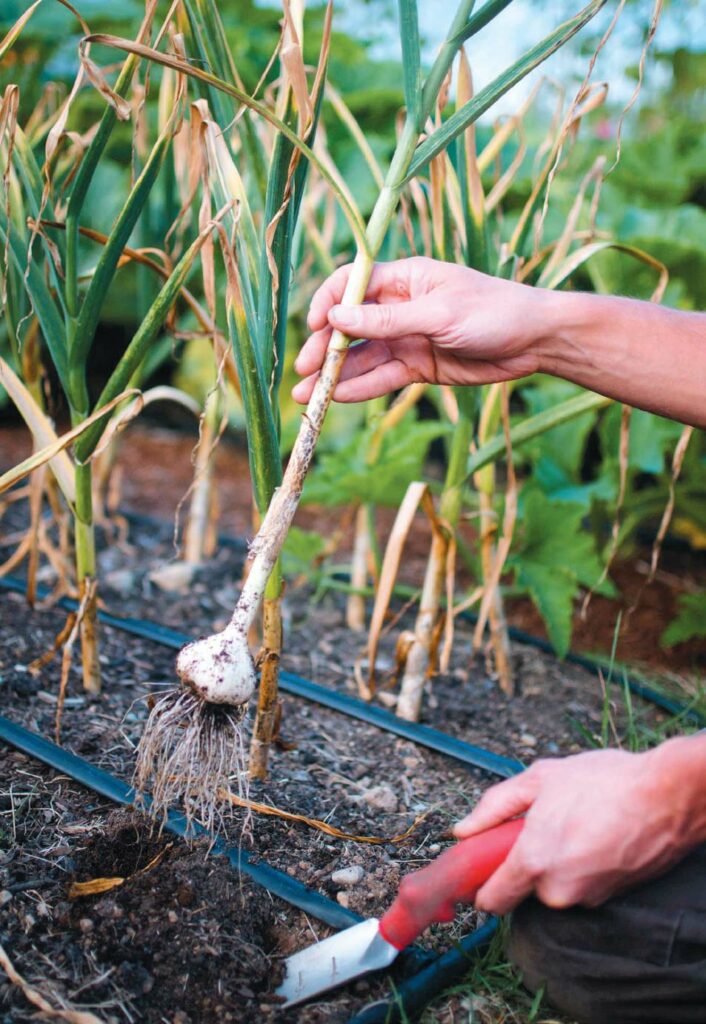
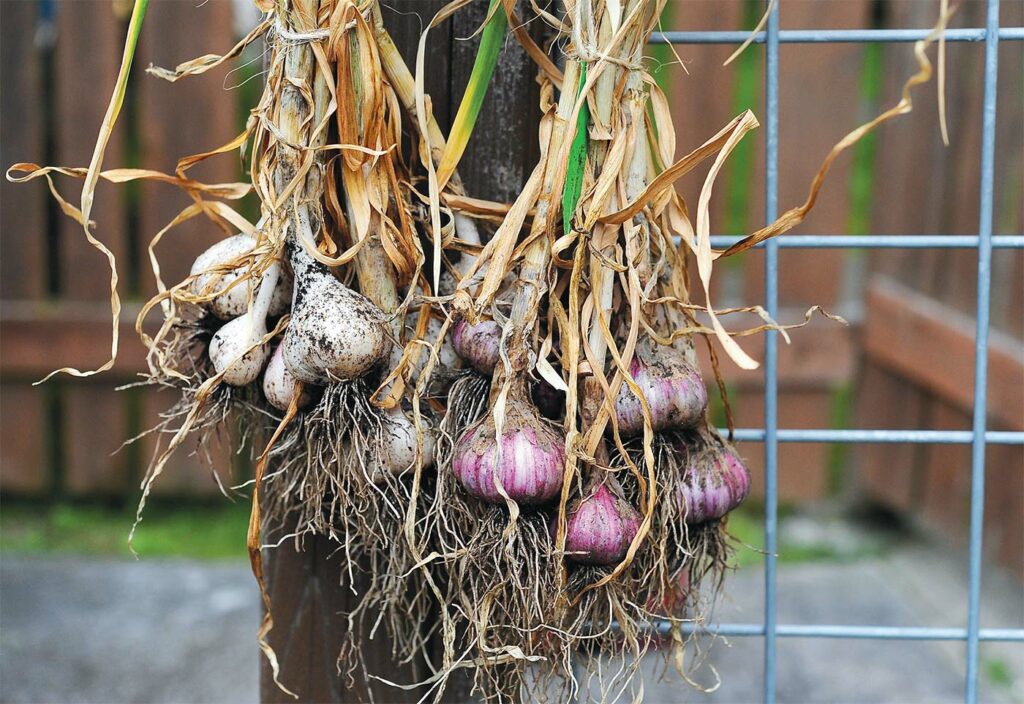
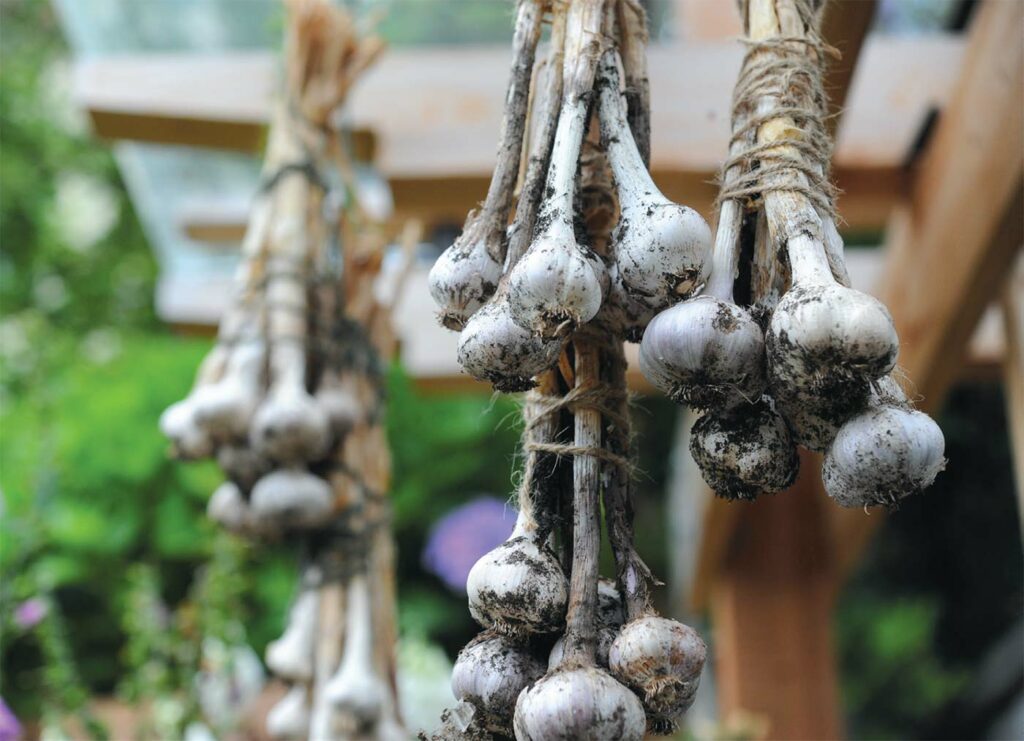
Harvest your plants in July, when about half of the leaves have turned yellow or brown. After harvest, don’t wash them or trim them, simply hang them up in a well-ventilated, dry, shady area for a couple of weeks so they can cure. After curing, trim the tops and roots and store in a cool, dry, dark spot until you need them. Since garlic is harvested in July and planted in October or November, you can start propagating from your own collection after your first harvest.
- Want to get Colin’s expert advice? Email your questions to th*****@***********le.com, and he may cover them in our next issue!